Few things are as frustrating as a zipper that refuses to cooperate. Whether it's a trusty backpack, your favorite jacket, or an essential pair of pants, a faulty zipper can render an item practically useless. But before you give up and discard it, know that many common zipper problems can be fixed with a little know-how and some simple tools. This comprehensive guide will empower you to tackle everything from a stubborn snag to a completely separated track, helping you breathe new life into your belongings.
We'll walk you through the most frequent issues and their solutions, ensuring you have the confidence to mend your zippers like a pro. From understanding why your zipper is acting up to making precise repairs, consider this your ultimate resource for keeping those teeth aligned and moving smoothly.
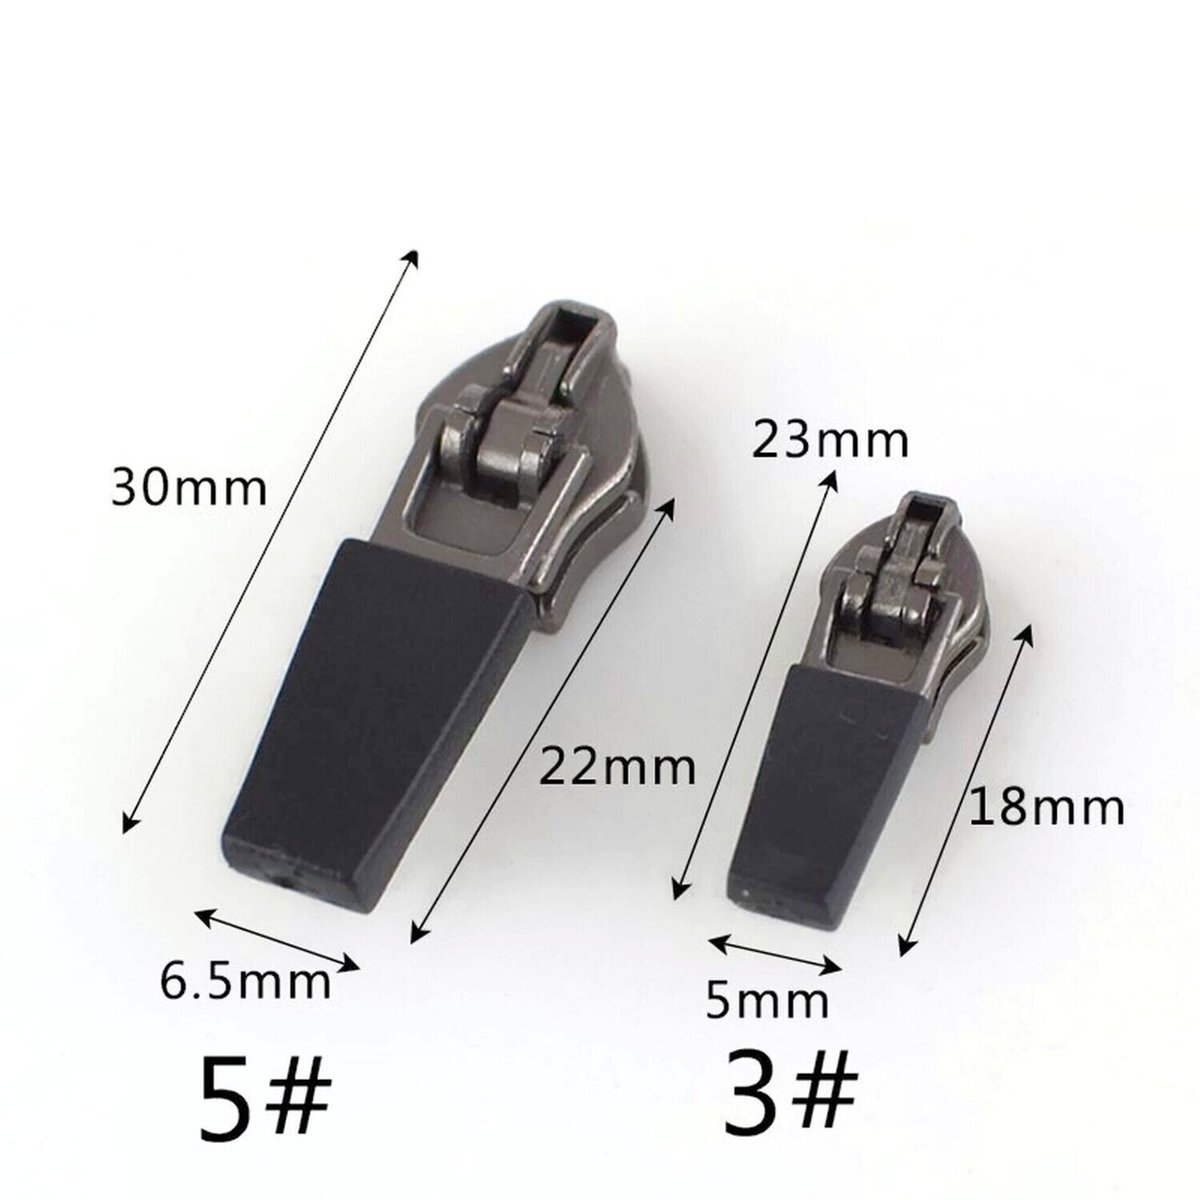
Understanding Your Zipper's Anatomy and Its Common Fails
Before diving into repairs, it helps to understand the basic components of your zipper. Every zipper has teeth, tape, and a slider, but the materials and construction can vary significantly. Some zippers are designed for heavy-duty use, while others are more delicate. Knowing what type of zipper you're dealing with can often guide your repair strategy and help you determine if a fix is even feasible. For a deeper dive into the different types you might encounter and how they're built, make sure to read our guide on Understanding Zipper Types and Anatomy.
Once you have a better grasp of the parts, you can more effectively pinpoint the problem. Is it truly stuck, or are the teeth refusing to mesh? Is the pull tab gone, or has the entire slider become detached? These distinctions are crucial for choosing the right repair method. Many issues, like a zipper that splits open behind the slider, indicate that the slider itself might be the culprit rather than individual teeth. To get a clear picture of what's gone wrong, it’s worth reviewing our detailed guide on Diagnosing Common Zipper Problems before you grab your tools.
Taming a Zipper That's Stuck or Stubborn
A zipper that won't budge is a common nuisance, but often, the solution is simpler than you'd think. Before forcing it, which can cause more damage, consider gentle lubrication. Dirt, lint, and general wear can cause friction, preventing the slider from moving freely along the teeth.
Here are a few trusted methods to get a stuck zipper moving again:
- Graphite Pencil Power: The graphite in a standard pencil is an excellent lubricant. Rub the tip of a pencil along the zipper teeth, coating them thoroughly. Gently try to move the slider, repeating the process if necessary until it glides smoothly.
- Liquid Laundry Detergent: For tougher grime, a diluted solution of liquid laundry detergent can work wonders. Dip a cotton ball into a small amount of detergent mixed with water and coat the zipper teeth. This helps break down any sticky residue, allowing the slider to move.
- The Post-Wash Boost: Sometimes, persistent dirt or gunk embedded in the teeth requires a more thorough cleaning. Washing the item in a machine can dislodge stubborn particles. After it's clean and dry, reapply a lubricant like pencil graphite or even a touch of candle wax or petroleum jelly (sparingly, to avoid clogging).
If your zipper is merely reluctant to close due to worn teeth, a tiny bit of candle wax or petroleum jelly can provide the necessary glide, just be careful not to clog the mechanism. For more in-depth strategies to handle zippers that are jammed or refusing to move, check out our dedicated article on Quick fixes for stuck zippers.
Fixing a Separated Zipper: When the Teeth Won't Engage
A zipper that separates after you've pulled the slider is a clear sign that the slider itself might be stretched or damaged. This is particularly common on bags and purses due to repeated use. When the slider's opening widens, it can't apply enough pressure to properly interlock the zipper teeth.
Method 1: Tightening a Stretched Zipper Slider
The most common fix for a separated zipper involves gently "repairing" the slider by reducing its opening.
- Inspect the Slider: Carefully examine the zipper slider. Often, one end (the side without the metal piece separating the two sides) will appear wider than the other. This is your target. While you're at it, inspect the zipper teeth for any bends or damage. Use pliers to gently straighten metal teeth, or your fingers for plastic teeth to avoid breakage.
- Gently Squeeze: Using your fingers or a pair of small pliers, gently squeeze the top and bottom of the wider end of the slider. The goal is to reduce the gap slightly, increasing the pressure the slider applies to the teeth. Be cautious not to squeeze too forcefully, as this could make the gap too small, preventing the slider from moving at all.
- Test and Re-adjust: Move the slider up and down a few times. If the zipper now closes correctly, you've likely fixed it! If not, try squeezing a little more.
Method 2: Removing and Reinserting the Slider for Re-alignment
If squeezing the slider doesn't work, or if the teeth are simply misaligned, you might need to remove and reinsert the slider. This method is generally best for zippers with metal top stops, as plastic stops are difficult to remove without breaking.
- Remove Top Stops: Locate the small, u-shaped metal stops at the very top end of each side of the zipper teeth. Using small-tipped pliers, gently pry open the side of the stop that's hooked onto the zipper tape. Wiggle it free and set it aside carefully – you'll need it later.
- Slide Off the Slider: Once the top stops are gone, the slider will easily pull off the end of the zipper tape.
- Realign the Teeth: Lay the zipper flat on a hard surface. Starting from the bottom, carefully press the zipper teeth together, ensuring they alternate and interlock perfectly. Check that there are no extra teeth on one side at the top, which indicates misalignment.
- Reinsert the Slider: Take the slider and attach its bottom end (the end without the separator) onto the top of the zipper tracks. Insert one track first, then the other, guiding them into the slider until several teeth have entered and it feels secure.
- Test Carefully: Pull the slider down a few inches, then move it up and down to confirm it correctly opens and closes the zipper. Do not pull it all the way to the top without the stops, or it will just slide off again.
- Reapply Top Stops: Place the saved metal stops back into their original positions at the top of the zipper tape. Use your pliers to squeeze their ends firmly until they securely grip the tape. Wiggle them to ensure they are firmly attached.
Sometimes, despite your best efforts, the slider might be too damaged for repair. In such cases, the most effective solution is to install a new one. To learn how to get your garment back in action quickly, our guide on how to Replace your broken zipper slider will walk you through the process step-by-step.
When Teeth and Stops Need a Full Repair
Beyond just the slider, sometimes the individual zipper teeth themselves or the end stops are the problem. Missing bottom teeth can make a zipper impossible to start, while a broken top stop allows the slider to escape the track entirely.
Repairing Missing Bottom Teeth
If your zipper struggles to start because teeth are missing at the very bottom:
- Remove Existing Bottom Stop: Use pliers to carefully remove the current bottom stop and any tack stitching at the base of the zipper with a seam ripper.
- Insert New Stop: Place a new, larger bottom stop so it covers the area where the teeth are missing. Push its prongs through the fabric just above the old stop's position.
- Secure the Stop: Close the prongs firmly with pliers to secure the new stop.
- Re-tack Zipper: Re-stitch the bottom portion of the zipper, either by hand or with a sewing machine, to secure it to the fabric.
Shortening a Zipper
Need a zipper to be a bit shorter? This is definitely doable!
- General Method: Simply cut the zipper from the bottom to your desired length.
- With Metal Stoppers: If your zipper has metal stoppers, carefully remove them from the cut-off piece with pliers. Then, reattach them at your new desired bottom length.
- Without Metal Stoppers: Use a needle and thread to create several tight stopping stitches at the new bottom end to prevent the slider from coming off.
- Molded-Tooth Zipper: Cut off the top section precisely. If it has a grooved top stop, slide in the teeth and tighten with pliers. Otherwise, remove the teeth above the desired mark with pliers, then squeeze a new stop in place above the last tooth on each side.
- Continuous Coil Zipper: These teeth must be cut. Clip the front part of the coil in half just before the zipper tape. Then, squeeze a top stop above the last tooth on each side, crimping the last coil piece under the stop.
These fixes, especially for individual teeth or end stops, require a bit more precision but are entirely within your grasp. For comprehensive instructions and visual aids on these more intricate repairs, our guide on how to Fix broken zipper teeth Repairing your will provide all the necessary details to get your zipper back in top shape.
Empowering Your Inner Fixer
Congratulations! You now have a solid foundation for tackling a wide range of zipper woes. From a simple stuck slider to more complex issues like separated tracks or missing teeth, understanding the problem and applying the right technique can save you money and extend the life of your favorite items. Don't be afraid to experiment gently and remember that patience is key. With these skills, you'll not only repair zippers but also foster a more sustainable approach to your belongings. Happy mending!